
📅 January 16, 2025 · by Nick
Want to claim your spot on the internet with a domain name—but not sure where to start?
Whether you’re launching a blog, an online store, or a portfolio, your domain is your digital identity. And when it comes to registering one quickly, affordably, and with full control, Namecheap is one of the best platforms out there.
In this beginner-friendly guide, I’ll walk you through exactly how to register a domain name with Namecheap—start to finish—in just a few minutes.
Why Choose Namecheap?
There are dozens of domain registrars out there, but Namecheap consistently stands out for its transparency, pricing, and user-friendly experience.
They manage over 11 million domains worldwide and are known for competitive rates, clean UI, free domain privacy, and responsive customer support.
Unlike some platforms that upsell at every step, Namecheap keeps things simple—making it perfect for beginners, bloggers, small businesses, and even developers.
Here’s a quick peek at some common TLD prices for new customers:
Pro Tip: Stick with a .com if you want the most universal, trustworthy domain extension.
Registering a Domain with Namecheap: A Simple Guide
Once you’ve decided on the name for your website, it’s time to secure it. Here’s how:
Step 1: Search Your Domain
Go to Namecheap.com and use the domain search tool. Just enter your desired domain—like yourbrand.com—and hit Search.
If it’s available, Namecheap will show you all the extension options (.com, .net, .org, etc.).
Step 2: Add to Cart
Once you’ve found the perfect domain:
- Tap Add to Cart
- Click the Checkout button (orange) in the top-right corner

You can also choose to bundle it with optional services like SSL certificates or Premium DNS (totally optional at this stage).
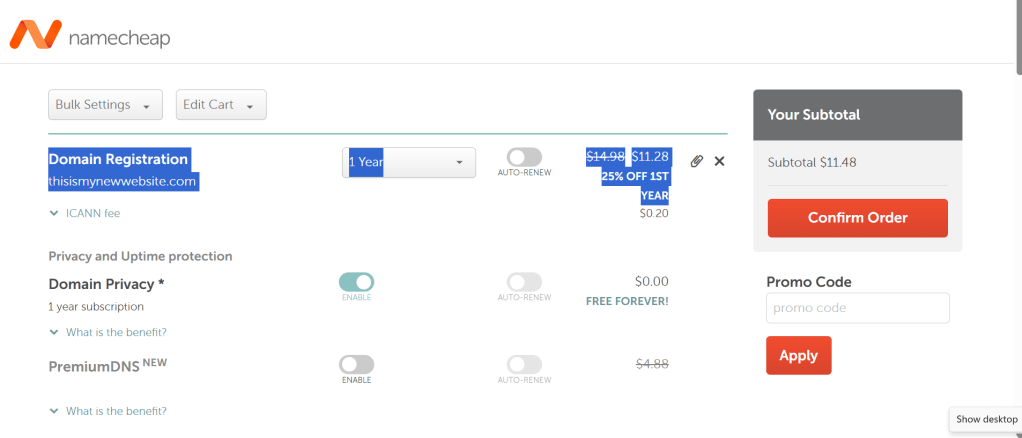
Step 3: Configure Domain Settings
On the checkout page, you can:
- Adjust registration length (1 to 10 years)
- Enable auto-renewal to avoid losing your domain
- Activate FREE Whois privacy protection (Namecheap includes this by default)
💬 Tip: Privacy protection hides your personal contact info from public records—useful for reducing spam.
If you have a promo code, this is where you can apply it. Then click Confirm Order to continue.
Step 4: Create a Namecheap Account
Next, you’ll be asked to sign up (or log in). You’ll need to:
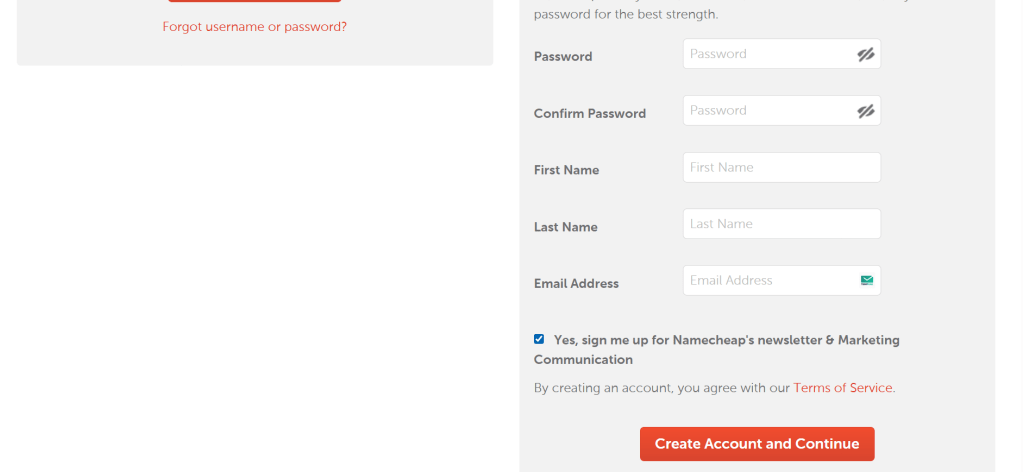
- Provide a valid email
- Set a strong password
- Add contact and billing details
This step is mandatory for domain ownership verification. It only takes a few minutes.
Step 5: Complete the Purchase

Choose your preferred payment method—credit/debit card, PayPal, crypto, or account balance—and click Pay Now.
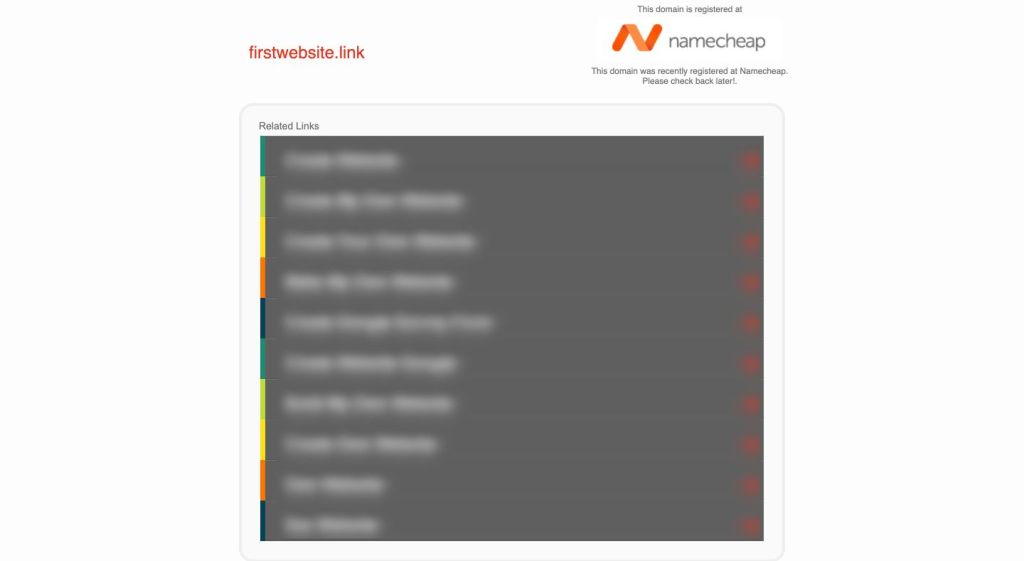
Once the payment is complete, you’ll receive a confirmation email with domain registration details.
✅ Done! You now officially own your domain.
Managing Your Domain: What’s Next?

To access all your domain settings:
- Log in to your Namecheap account
- Go to Domain List
- Click Manage next to your new domain
From here, you can configure:
- Nameservers & DNS
- Email forwarding
- Website redirection
- SSL setup
- Renewal settings
How to Redirect Your Domain
Want to point your domain to another site—like your Etsy shop or Instagram?
Here’s how:
- Go to Domain List > Manage
- Scroll to Redirect Domain
- Enter your Destination URL
- Click the green ✅ checkmark to save
Your domain will now redirect to that page within minutes.
How to Set Up Email Forwarding
Want to create a custom email like hello@yourdomain.com?
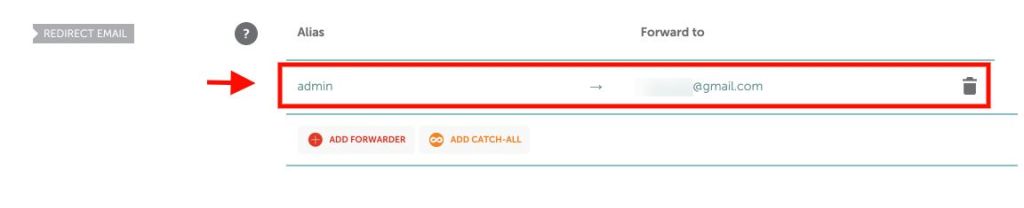
You can set up free email forwarding in just a few clicks:
- Go to Domain List > Manage
- Scroll to the Redirect Email section
- Add an alias like
adminorinfo - Enter the personal email you’d like messages to forward to (e.g.,
you@gmail.com) - Save your changes
It may take up to an hour to activate, but after that, your custom email will forward seamlessly.
Finish it
Registering a domain with Namecheap is straightforward, affordable, and fast. Whether you’re setting up a personal blog or building a brand, your domain name is a foundational step in your online journey.
And the best part? You don’t need to be a tech expert. With Namecheap’s intuitive dashboard, built-in privacy, and helpful guides, anyone can get started in minutes.
If you’re planning to build a site soon, check out Namecheap’s hosting plans—they even offer a free SSL certificate with most plans in the first year.
️ Ready to launch?
Head over to Namecheap, register your dream domain, and start building your corner of the web today.

Leave a comment